
 Posts
Posts


Thursday, October 21, 2010


Monday, October 18, 2010
A lesson in stripping paint
Just thought I'd post up a few words of wisdom...or hard lessons as it may be.
Through all the weeks of working on baseboards I feel like I have tried a dozen things to make stripping paint work. The orange citristrip seems to work but is messy and is still a paint striping chemical. Although I still think it's a good product if you really want to get the job done it's not the quickest, and is certainly temperamental.
Now for metal, that is a whole different story. We had this hardware on the front closet door that is pretty old. Nice solid mortise lock set. But it, like everything else, has 3-4 layers of paint on it.


I came across the best discovery I could have ever made in regards to stripping paint off of metal parts. I neglected to get any pictures of the hardware before I started the process but you can see in the pot the parts are a heavy white / cream color. bought an old pot from salvation army for a few bucks, add water, baking soda, and boil. half hour later start removing. The paint just peels right off in heavy layers. After about an hour with a wire with this, a plastic tool, and a wire brush......
Toodles.....
Through all the weeks of working on baseboards I feel like I have tried a dozen things to make stripping paint work. The orange citristrip seems to work but is messy and is still a paint striping chemical. Although I still think it's a good product if you really want to get the job done it's not the quickest, and is certainly temperamental.
 |
| That little triangle pointy tool on the right there...that guy can strip some paint in a WHOLE lot less time than any brush on nonsense.. That whole door frame took less than an hour and a half for both sides. For stripping paint on wood..my new best friend. |

Now for metal, that is a whole different story. We had this hardware on the front closet door that is pretty old. Nice solid mortise lock set. But it, like everything else, has 3-4 layers of paint on it.


 |
| Inside the lockset was actually really clean. Found part of a broken skeleton key, a plastic pearl, and a reather old scrabble piece. |

 |
| At least I get to use my camp stove for something. |

I came across the best discovery I could have ever made in regards to stripping paint off of metal parts. I neglected to get any pictures of the hardware before I started the process but you can see in the pot the parts are a heavy white / cream color. bought an old pot from salvation army for a few bucks, add water, baking soda, and boil. half hour later start removing. The paint just peels right off in heavy layers. After about an hour with a wire with this, a plastic tool, and a wire brush......
 |
| No more paint!! Brass darkening solution to come soon.... |

Just a quick one before I turn in......
Short / Long week for me, I have to go to Sault Saint Marie Wednesday afternoon (overnight) so trying to get as much done as I can before then. Made quite a bit of progress on the floors tonight, thanks to the help of my new little friend the flooring nailer.
 |
| Sometimes butter just isn't butter unless it's parquet. |

 |
| Starting is always the hardest part. But I got smart somewhere along the way and pullled a line from the old flooring that is there. Much easier than me trying to snap a line from the oh so striaght walls of a 90+ year old house. |
 |
| That's a start at least. I think I got the hang of it. Certainly have to admire the paint, got the best painter that a simple man can hire. |


Sunday, October 17, 2010
On the latest episode of our old house . . .
 I swear it followed me home . . . .
 What was in the box . . .? Just a Tivoli Bedside Table for the entryway. The Entryway table version of the Tivoli is too wide for our entry vestibule, but the bedside table version fit perfectly!

Living Room
Les worked especially hard this weekend and here's the progress he made on the wood floors.

All considered it would be an extensive effort to restore them, which is a bit beyond our expertise to repair. We're going to protect them as best we can with a layer of underlayment before we put in the new wood floors.
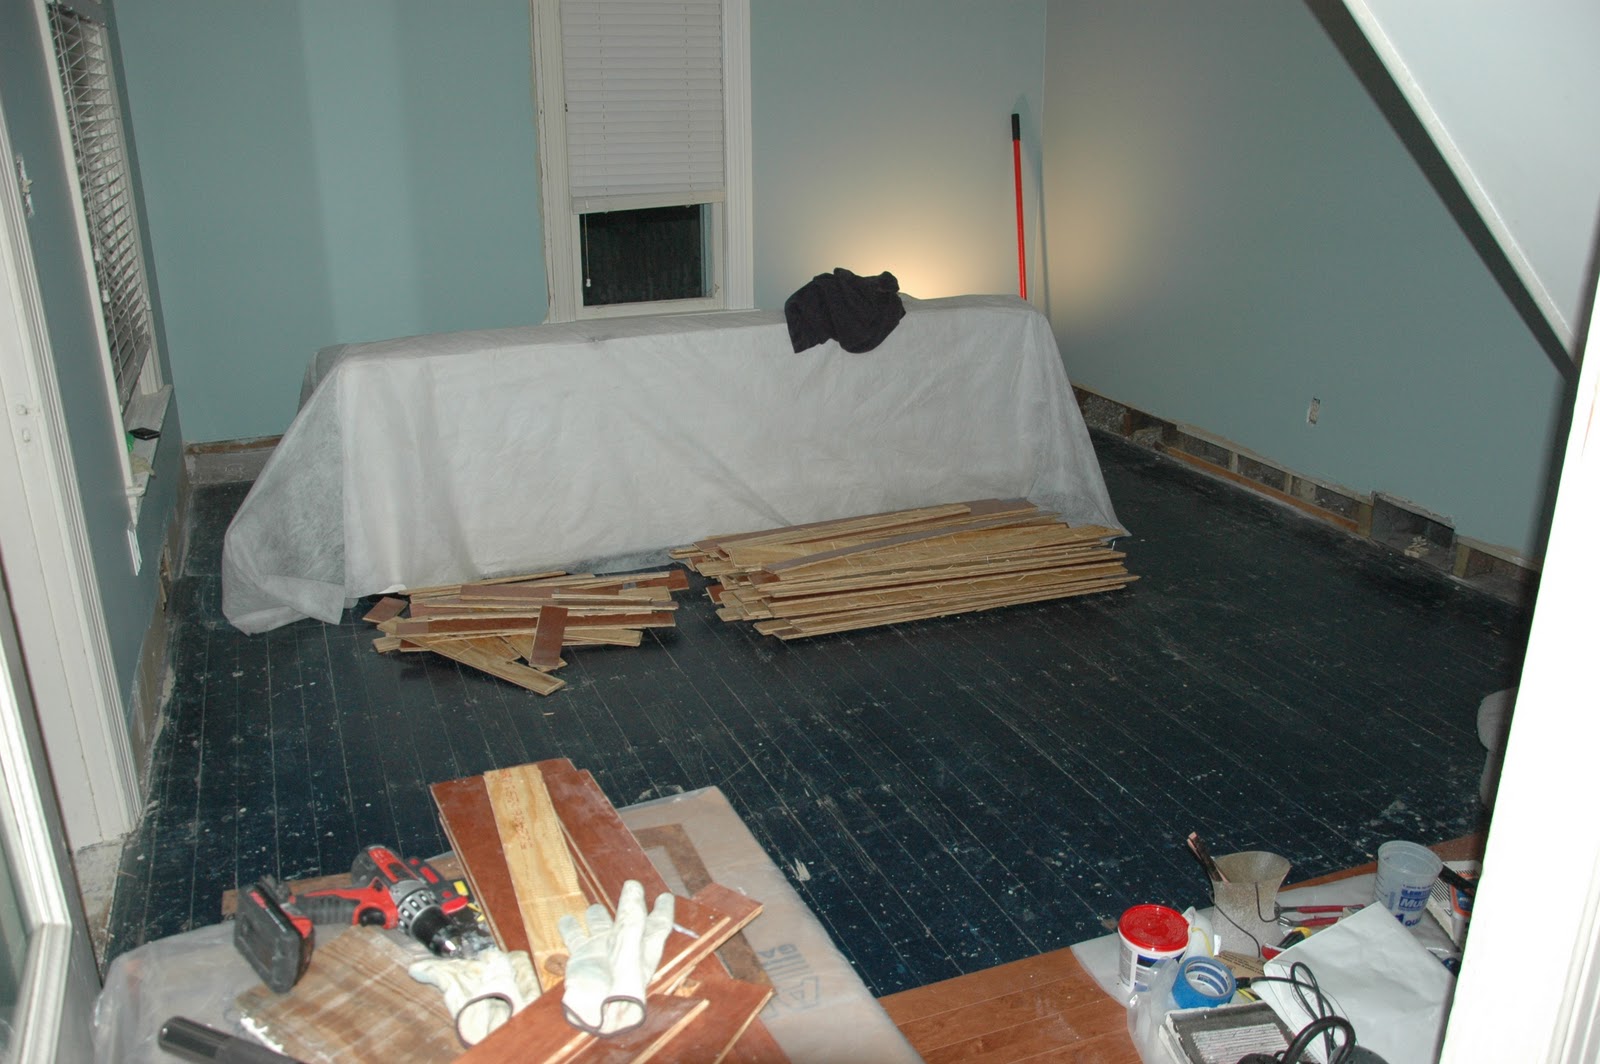
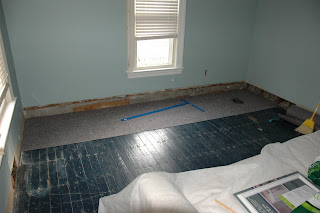 |
| Underlayment in Living Room |

 Next is the dining room, which currently has an old oak parquet floor on 1/4" plywood substrate, both of which will be removed to expose the original floor. Overall we'll be replacing 750 s.f. of floors, which will include the Living, Dining, Kitchen, Guest Bedroom, and Mudroom.
Monday, October 11, 2010
Recently, From This Old House
A little elbow grease, a little grout, and a few extra trips to Lowes and voila!


Finished Entry Way with new light fixture. After a couple days of curing we can add the base boards and trim back in.

Dining Room
It took about a week to gently persuade the wall paper to, let go! But thanks to a combo of vinegar and steam, we are wall paper free.
As with lighting, good things come in boxes labeled Hinkley! With 9'H ceilings we and a dining room table that extends to 122" we needed something to rival the overstated size of the room and furniture. We went to a local manufacturer from Ohio to find a new vintage 3' diameter chandelier.


Coming Soon!
 A pleasant surprise, showed up over the weekend . . .
 Thursday, September 23, 2010
Tile Tile Tile Tile Paint Tile Tile Tile Paint Tile Grout
Man how time just gets away, we have been so busy lately that finding time to update everyone on the progress fell behind. Where to start. Well these little projects seem to come around with grand ideas of schedule but seem to somehow grow a schedule of their own.
 |
| Tile going in after the border was resolved |

 |
| Greatest painter on the block!! |

 |
| Day 2 of laying tile. Getting closer |

 |
| Welcome gift from neighbor! |

In the mean time, sunday was the neighborhood block party!! Organized neighborhood pot-luck where they block off the street and eveyone in the neighborhood is invited to bring a dish and mingle, byo plate and beverages. Was really great timing for us, allowing us the opportunity to meet a lot of the other neighbors on the street. We certainly do not have any regrets on the choice of neighborhood. Everyone is super friendly and very helpful. Not sure a picture was posted but the day after I met one couple walking by the front of the house, they brought over a nice little bag of homemade bran muffins, their contact information, and information on joining the Historical Commission since I had expressed interest the last we has spoken. Well that was before the block party. At the party we met the neighbors on the other side of our house, who mentioned she had an herb garden. That same morning we had bought a bag of cucumbers to make pickles, so I expressed a need for some dill. We all laughed since it was the one herb she didn't have this year. Well sure enough the next night we are working on the house and she brings over a cute gift bag with a bunch of dill from one of the local markets along with a small loaf of pumpkin bread. Certainly not a bad welcome to the neighborhood. :)

A lot has gone on apparently since the last post... We now have light in the dining room thanks to Amandas continued efforts. This little package showed up last week. So the dining room is no longer a danger zone.
More to come....
Sunday, September 12, 2010
Tile & Paint
New tile for the Entryway
 As home renovations go, big ideas precede small set-backs followed by a few choice words. This setback just happened to involve the front door not closing. Oops.
 With the addition of the Durock coupled with the height of the new tile our floor is now higher than the bottom of the door. Thanks to the kindness of neighbors whose garages happen to be full of tools, we were able to borrow a saw and fix the door.
 Best installer hugs and kisses can buy.


Since the house is part of Historic Society we decided to play up the charm and pay homage by using the Historic Colors Collection by Benjamin Moore throughout the house. We're using "Wedgewood Gray" HC-146 as the new color for the living room. And we'll use "Swiss Coffee" for the trim color.
 Instead of buying new trim we're stripping all of the old baseboards, rebuilding, and refinishing them. Les will be happy to have his clean garage back!


In their lifetime, the baseboards have been several colors. Far as we can tell they appear to have been red, green, blue, and white!

 With the addition of the Durock coupled with the height of the new tile our floor is now higher than the bottom of the door. Thanks to the kindness of neighbors whose garages happen to be full of tools, we were able to borrow a saw and fix the door.


Since the house is part of Historic Society we decided to play up the charm and pay homage by using the Historic Colors Collection by Benjamin Moore throughout the house. We're using "Wedgewood Gray" HC-146 as the new color for the living room. And we'll use "Swiss Coffee" for the trim color.


In their lifetime, the baseboards have been several colors. Far as we can tell they appear to have been red, green, blue, and white!
Subscribe to:
Posts (Atom)